Teaching online for the first time is daunting under the best of circumstances. Making the transition mid-semester and in a hurry only adds to the stress. This page is for faculty who are new to teaching fully online classes - whether you use Blackboard in your face-to-face classes extensively or just as a home for your syllabus. This page has advice on the pedagogical (andragogical) aspects of online teaching. For links and suggestions on Blackboard technology, see the main Moving Courses Online page.
1. Assess your own and your students' needs.
Start with access to technology. Ask yourself and your students the following questions.
Also, consider access to workspace.
Finally, think about special accessibility needs.
The answers to these questions can help guide you when generating material and assessments for your classes.
2. Don't try to do everything at once.
Focus on what you can accomplish quickly and easily first.
Also, now is not the time to try something brand new for your classes, whether that's a new assignment or new content. Most instructors have a bank of materials that they have tried and that they know work. Changing course delivery mode mid-stream is a good time to rely on what you know works (to whatever extent possible, of course). Stick to tried-and-true assignments, lectures, even software, if you've integrated it into your classes before.
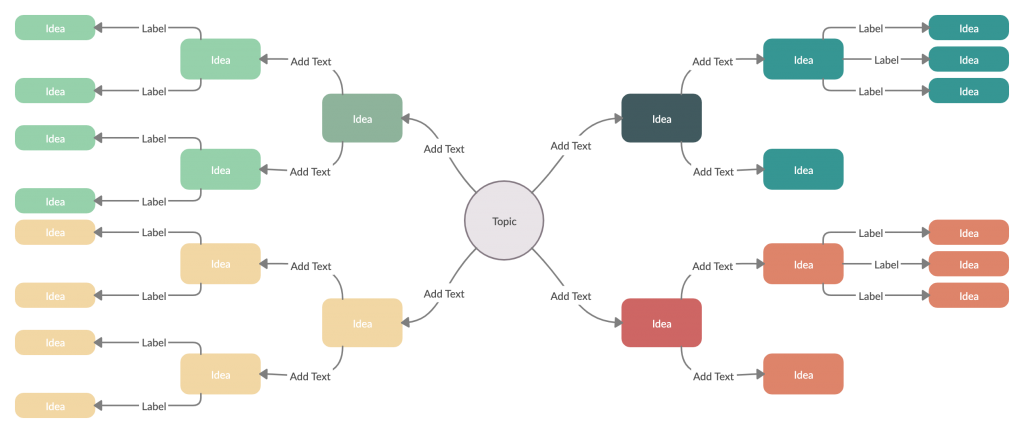
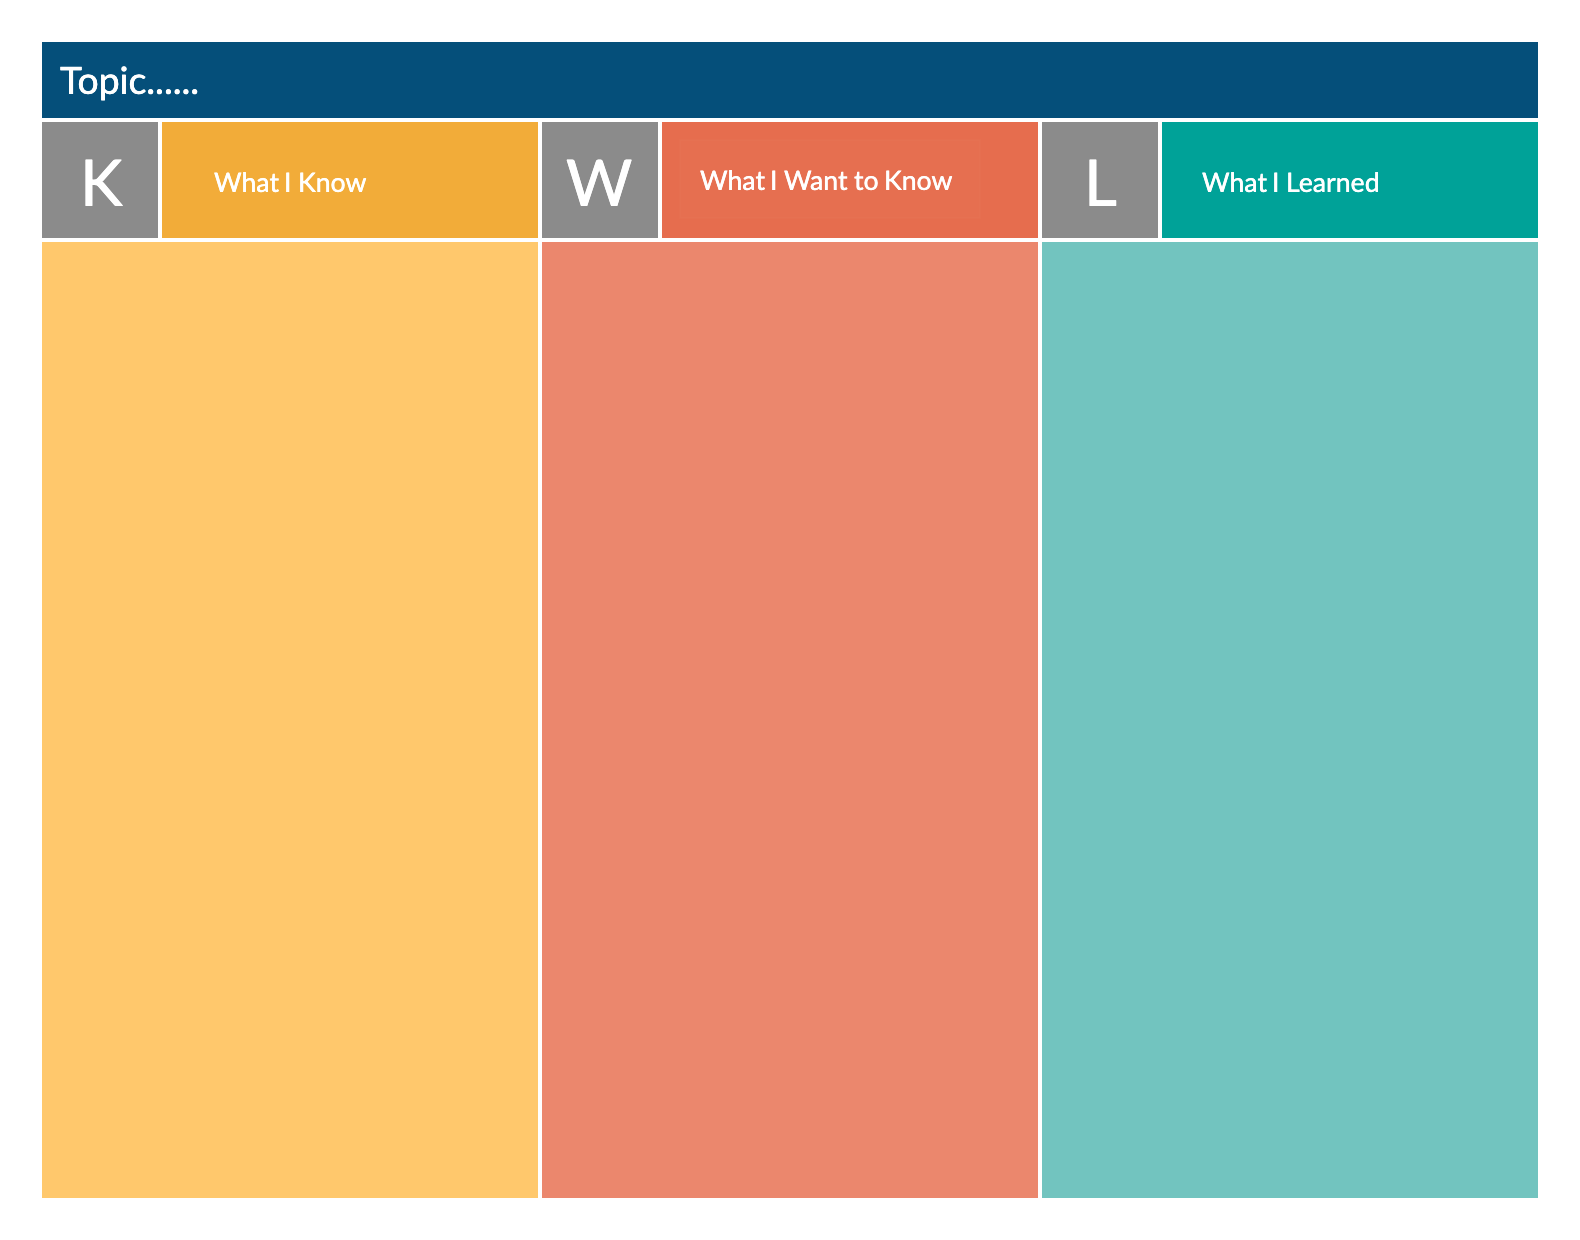
3. Use a graphic organizer to lay out your online course.
It may be the English teacher in me, but I always need to organize my ideas before creating something new. It helps me take stock of what I know or have and what I need to find. It also helps me make sure that I don't leave anything important out - AND that I get rid of nonessentials that may cause unnecessary confusion. Depending on your discipline and the type of course you teach (100-level survey course, skills course, advanced disciplinary course), as well as your own organizational preferences, you may find one kind of graphic organizer more helpful than another. I recommend any of the following.
By the way, all of the organizers linked above come from a great webpage by Creately. There are lots of others there. Check it out!
4. Organize your course by week or unit (not by topic or content type).
When I first started teaching online, I organized the course by type of content. I had course videos in one place, course readings in another, and links to other sites in a third. While it made sense to me to do it that way, my students were clicking all over the place to get to the course content every week, which made things very difficult for them.
A better way is to organize your class is to follow the organization of your syllabus - by week (or by unit if it spans more than one week). Create class modules by week, not by topic. Put everything your students need into the weekly modules, so that they can access everything from the same place. That doesn't mean that they won't go to a the discussion board and to assessments for quizzes. What it means is that you link everything they need to do that week, in the order in which they should do it, through the weekly module.
Below is a screen shot of one my class modules. This class was created in Canvas, so it looks a little different, but the overall concept is the same. (Click on the upper righ corner of the picture for a full-size view.
However you set up your modules, the key is to be consistent. Follow the same format every week.
5. Keep your audience in mind.
As you create your course content, remember that your audience is your students. They will most likely know very little about the topic, and they're probably not used to learning independently. Here are some suggestions to help you keep your content student-friendly.